Model licence: Standard Digital File License (MakerWorld)
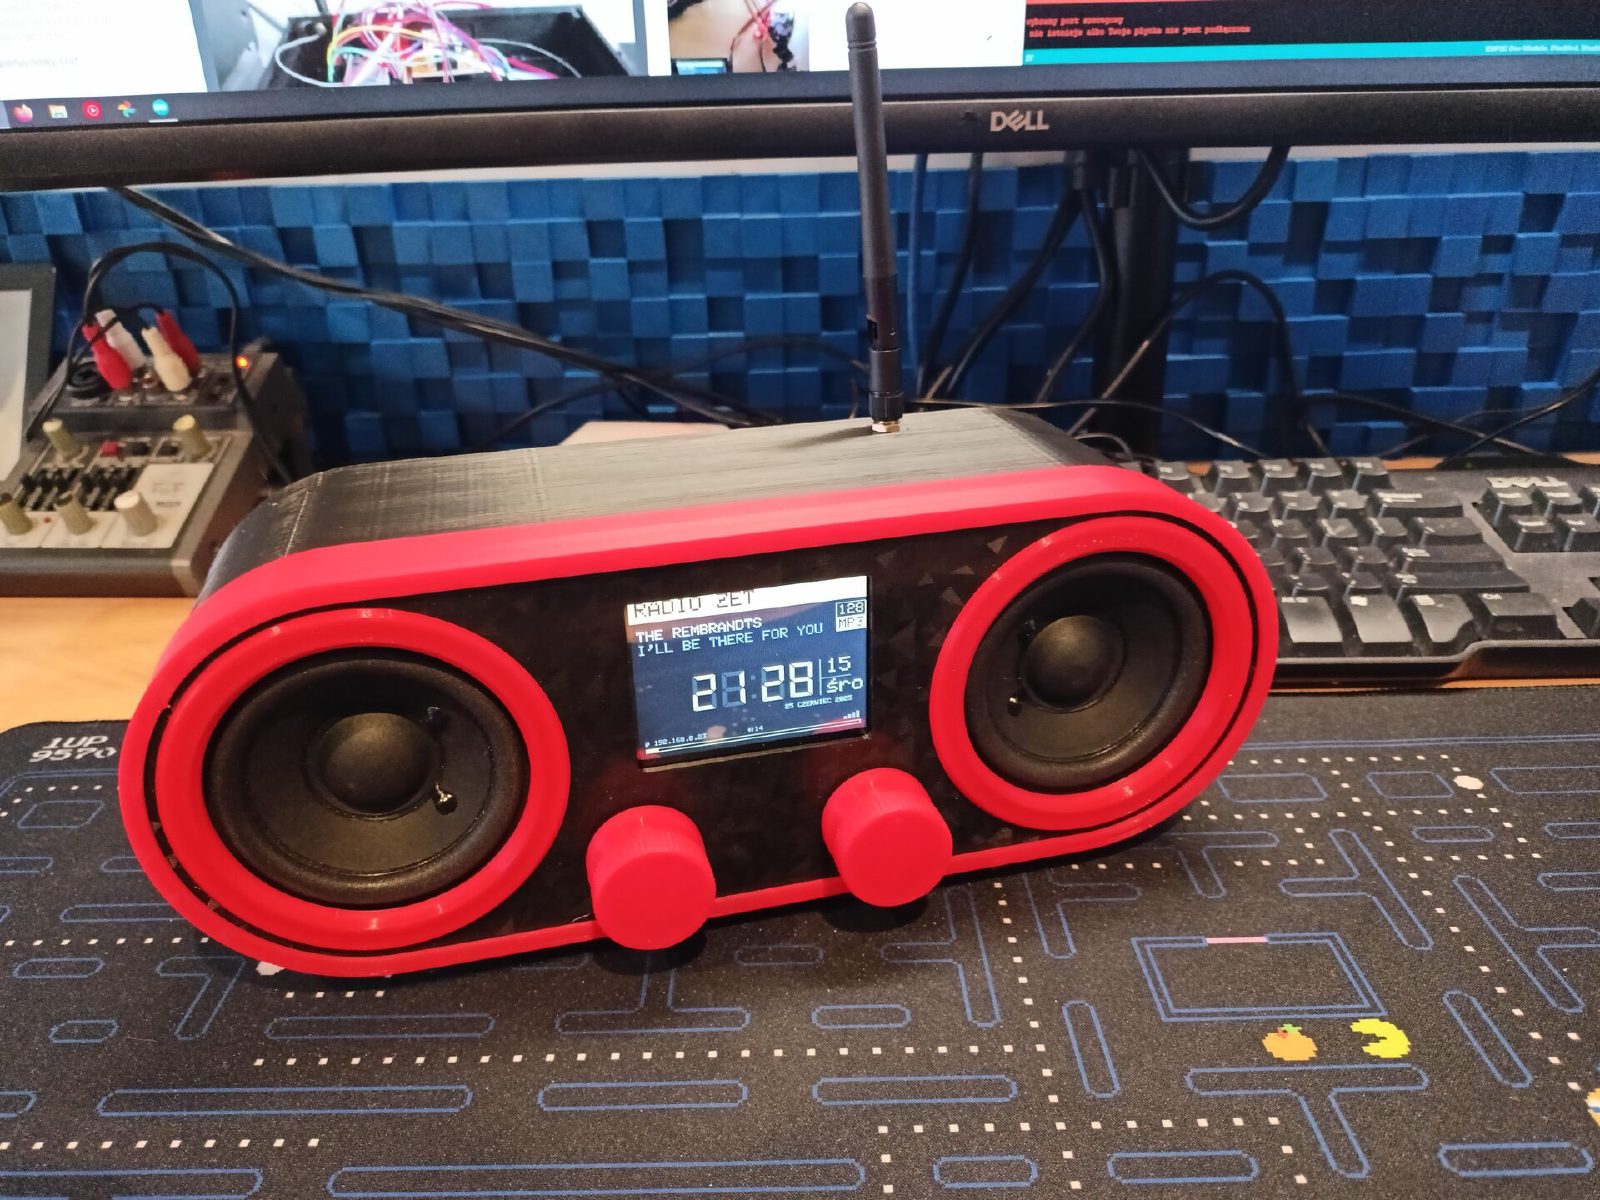
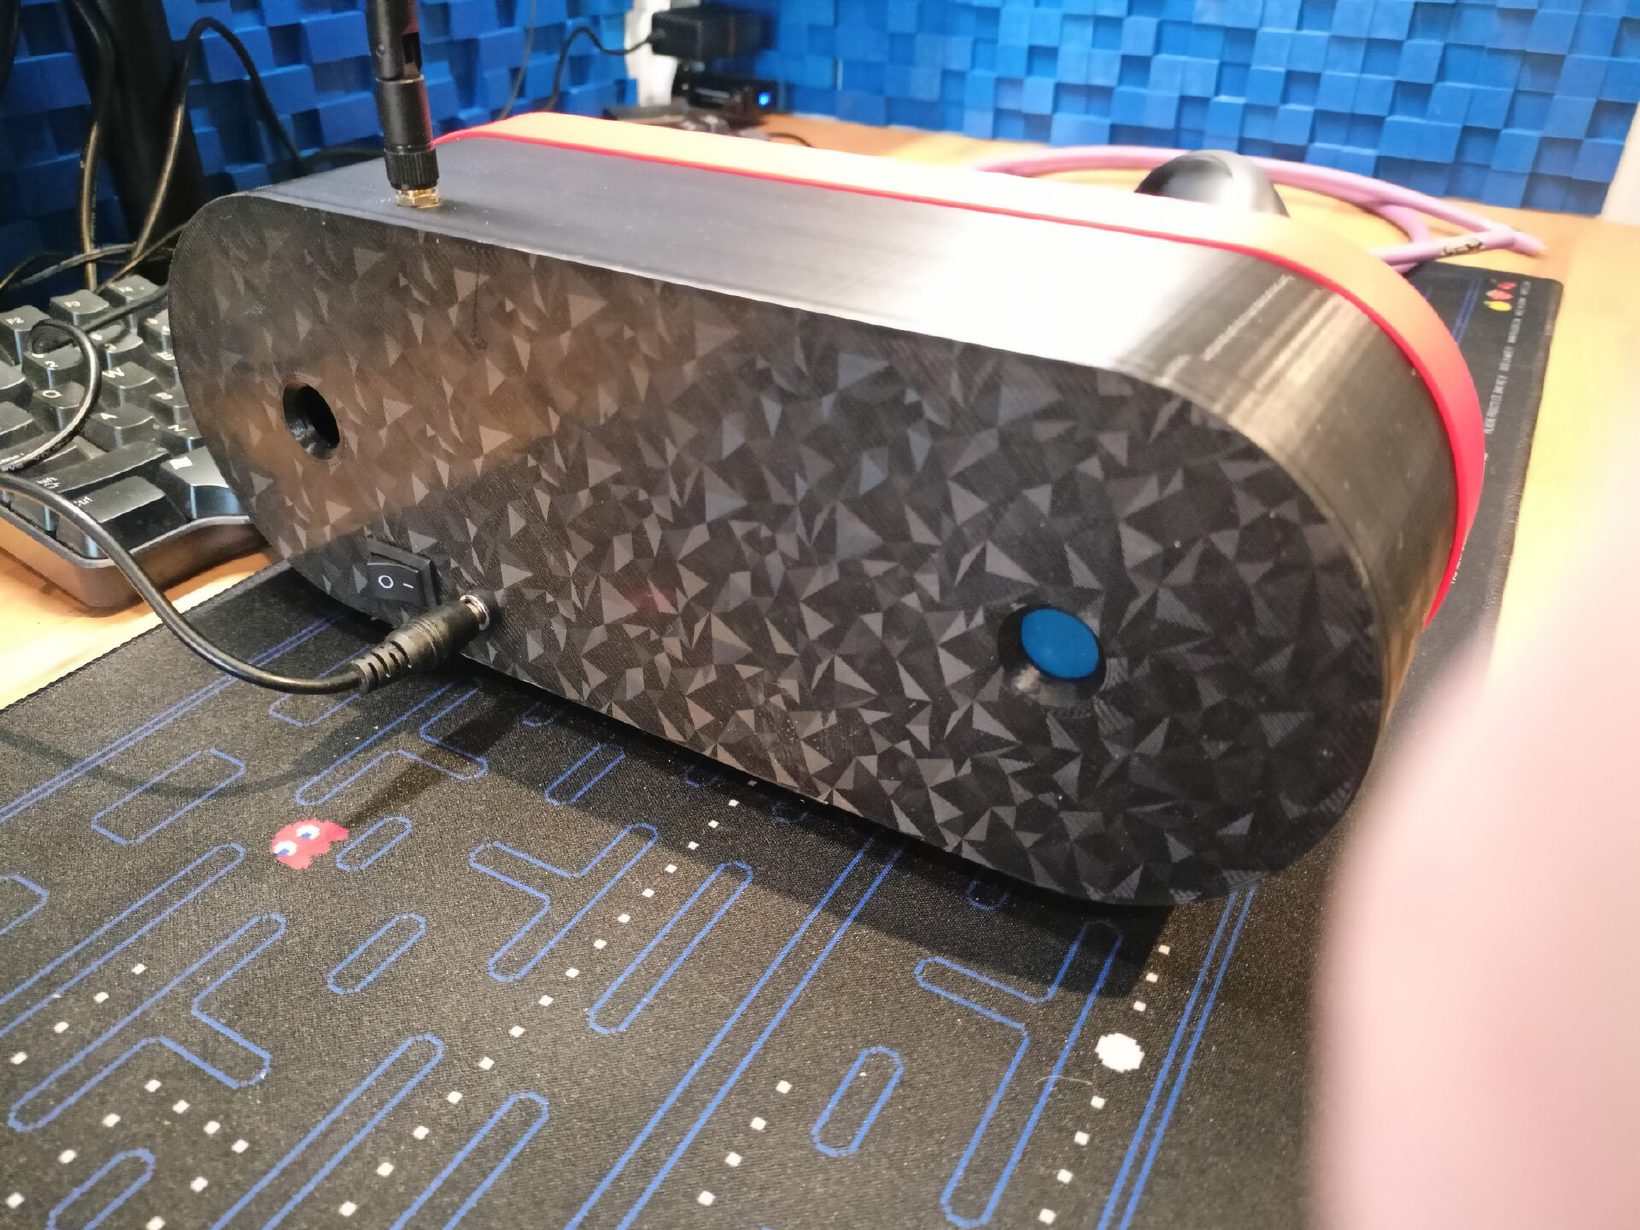
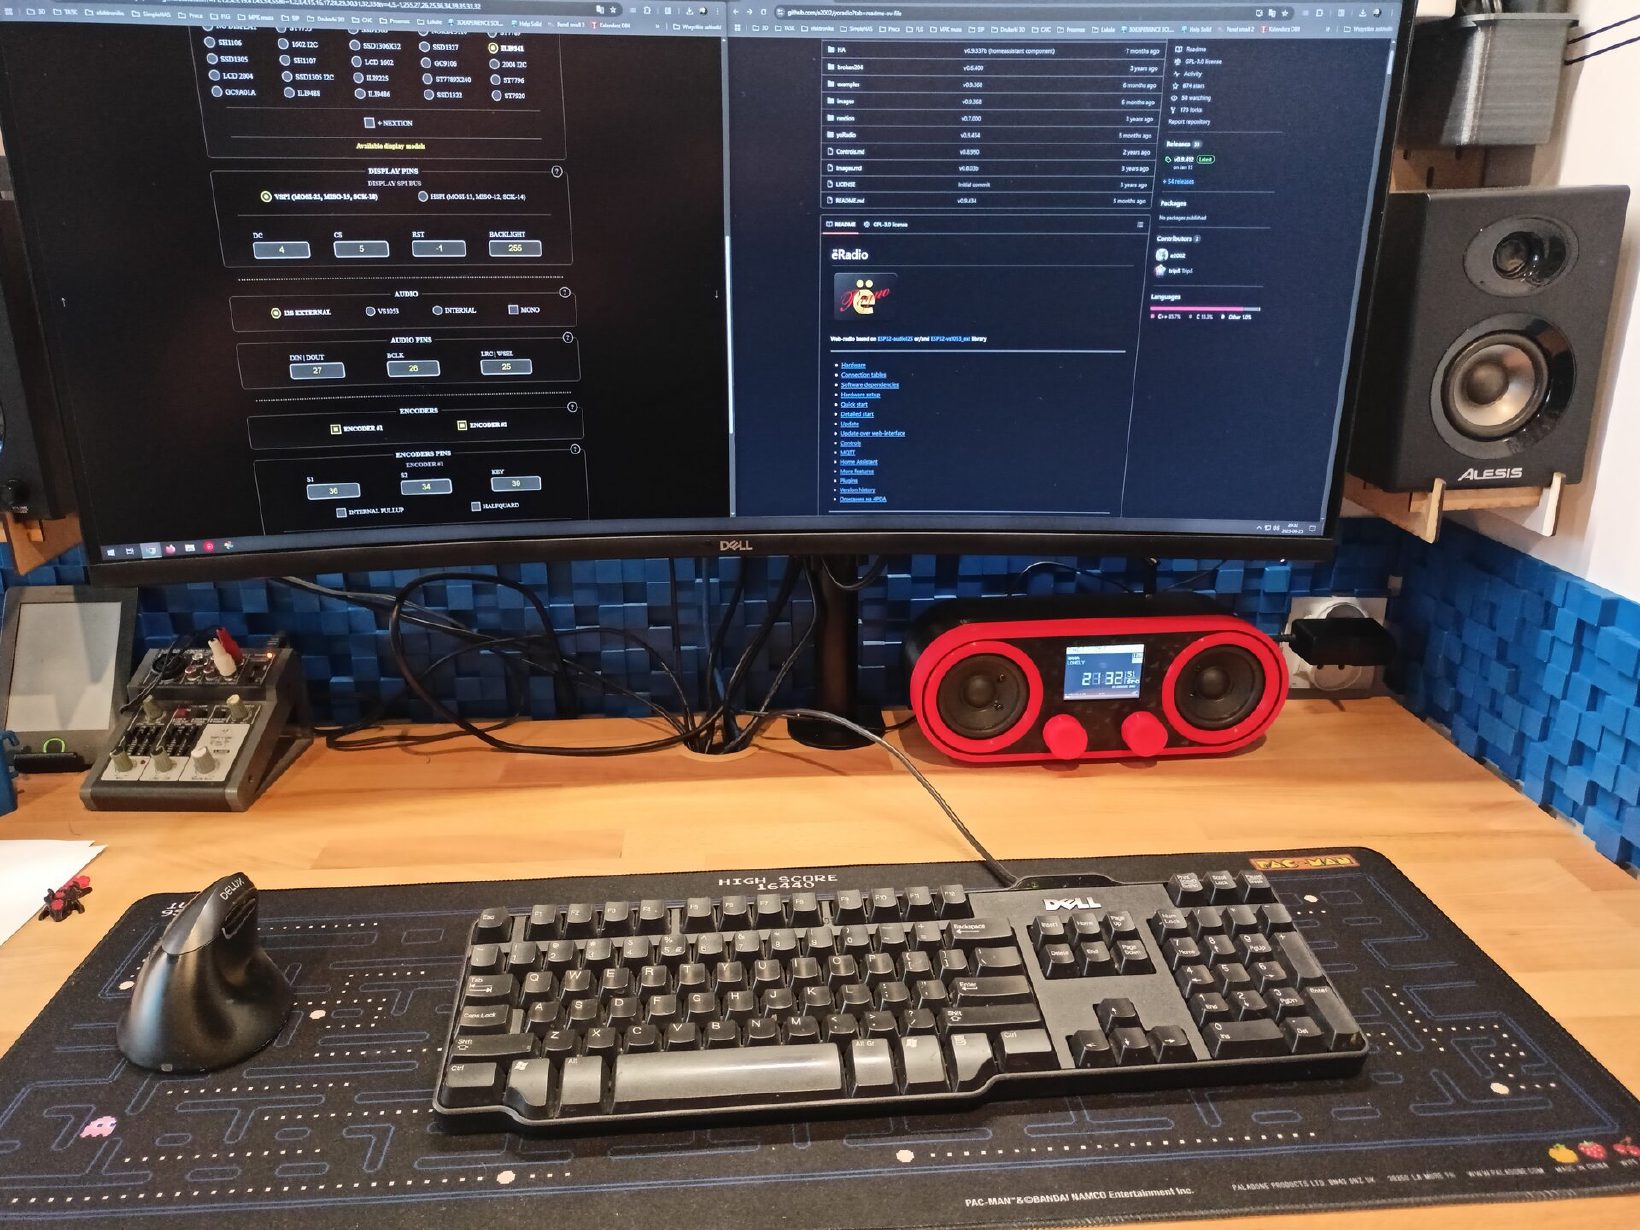
An internet radio that plays hundreds of stations from all over the world and looks like a small red boombox. Inside there is an ESP32 running the open source yoRadio firmware, at the front a touchscreen with the station name, song title and a clock, two knobs and two 90 mm speakers. I designed the case for 3D printing, and you can buy all the electronics in shops with Arduino and ESP32 modules.
The firmware: yoRadio, a.k.a. eRadio
yoRadio (also written ёRadio or eRadio) is open source firmware for the ESP32, developed by an author known as e2002 under the GPL 3 licence. It turns an ESP32 board with an audio converter into a complete internet radio:
- it plays radio streams over Wi-Fi, and the sound goes out through an I2S converter (or a VS1053 module),
- a station list of up to 65,535 entries, which you arrange in a browser, on a page served by the radio itself - you can also import a ready list from the KaRadio project,
- it supports dozens of displays, from small OLEDs to 3.5 inch TFT screens, and control with encoders, buttons, a touchscreen or an infrared remote,
- it works with MQTT and Home Assistant, and you can flash new versions from the browser.
There is a big community around the firmware - in the eRadio (YoRadio) group on Facebook people show their radios, cases and changes to the firmware.
What you need
- an ESP32 (the 38-pin version), ideally with a socket for an external Wi-Fi antenna
- a UDA1334A I2S audio converter (stereo DAC)
- a Goouuu Expansion board ESP32s, version 4
- a 2.8" ILI9341 TFT touchscreen (320 x 240 pixels)
- 2 encoder modules and knobs for them
- jumper wires with female plugs
- a TPA3110 amplifier (2 x 15 W)
- 2 speakers, 90 mm, 20 W (10 W RMS) - I use the Monacor SP-8/4
- a 9-12 V power supply and a 5.5/2.1 mm DC socket
- a WY-012-2 power switch
- 19 plastic M2 x 6 mm screws
- optional: an external Wi-Fi antenna and fabric or mesh for the speaker grilles
Choose knobs that fit your encoders - their shafts vary. I used this model from MakerWorld.
Getting started
Print the case
Download the files from MakerWorld. My radio has a black body with red speaker rims and knobs, but the colours are up to you.
Prepare the firmware
In the yoRadio configuration generator, choose your screen, converter and encoders - it creates a myoptions.h file with the pin numbers. Flash the firmware from the Arduino IDE following the instructions in the project's wiki. Note: the author recommends Arduino IDE 1.8.19; version 2.x is not supported.
Connect the radio to Wi-Fi
On the first start the radio creates its own network, yoRadioAP (password 12345987). Connect to it, open http://192.168.4.1/ and enter your Wi-Fi details.
Add stations
Open the radio's address in your home network in a browser and add stations to the list. Then all that is left is to put everything into the case and screw it together with the M2 screws.
Smaller cases for the same set
The same electronics (ESP32, UDA1334A, Goouuu board) also fit two smaller cases of mine: