 PiSafe GUI
Version 0.3.4 · free and open source (GPL 3)
Raspberry Pi SD cards - no terminal and no fear
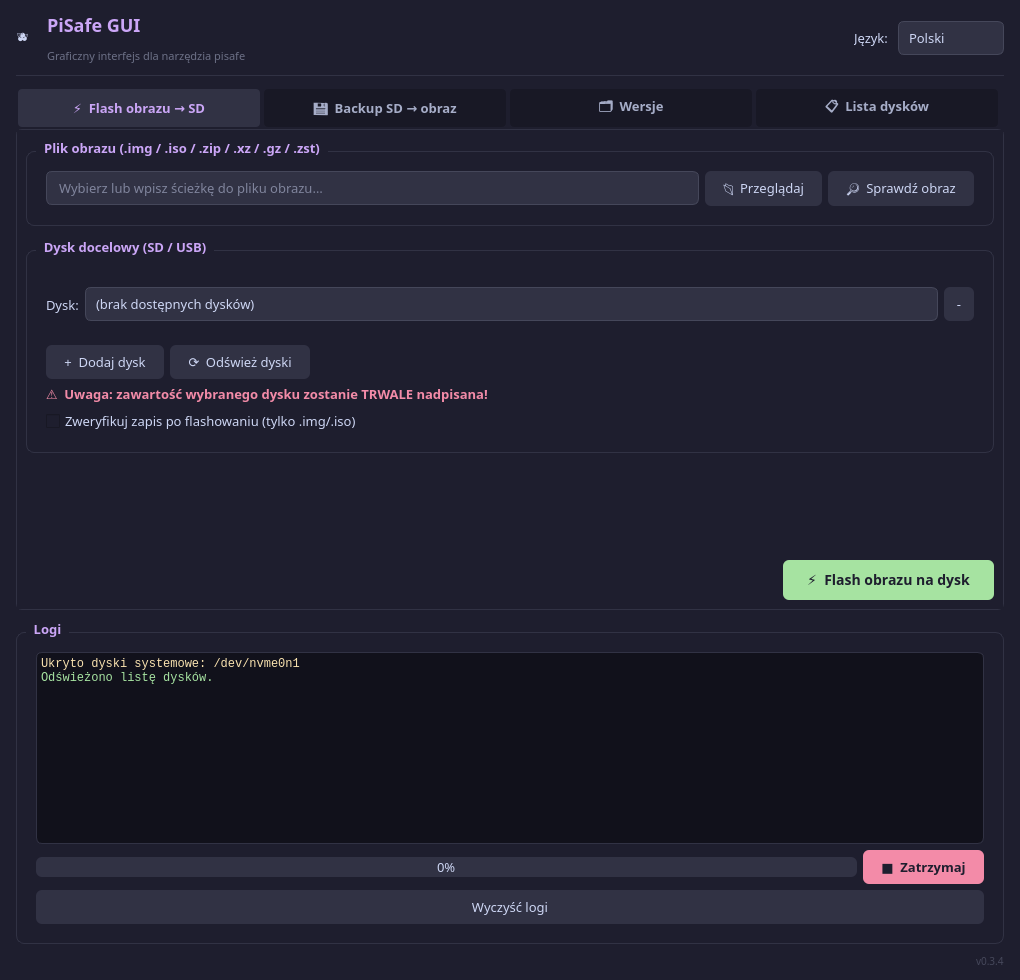
PiSafe GUI is a window for the pisafe tool. Write a system image to an SD card or a USB stick, back a card up to a file and keep successive versions of your images in order. The program hides the disks your own system runs from, so you cannot overwrite them by mistake.
For Linux and Raspberry Pi OS. Installed with one script, which also installs pisafe itself.
- Current version
- 0.3.4
- Price
- free
- Licence
- open source, GPL 3
- Runs on
- Linux and Raspberry Pi OS
- Languages
- English, Polish and 4 more
What it does
Everything you do with SD cards
If you have a few Raspberry Pis, a 3D printer running Klipper or a home server on a board, you are forever writing a system to a card or backing one up. pisafe does this well, but from the terminal. PiSafe GUI gives it a window - with the safeguards that are easy to forget in a terminal.
Writing an image
An .img or .iso file, or a compressed one (.zip, .xz, .gz, .zst), and a target disk. One click, a progress bar and a log of every command.
Card backup to a file
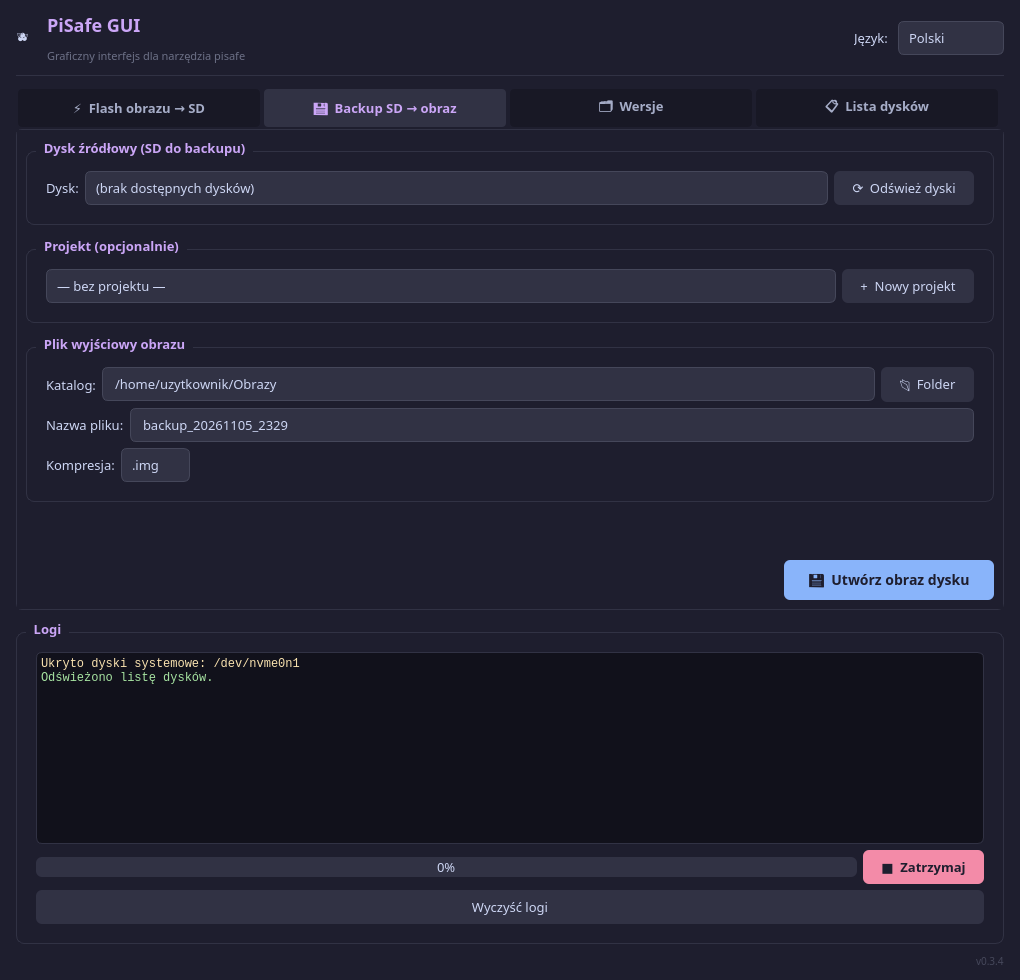
A whole SD card or USB stick into an image, with a choice of compression. The backup can go straight into a project.
Image versions
Backups grouped into projects, each with a label (v1, v2, "stable"), a date, a size and a note. Kept in a small SQLite database.
Write verification
After writing an .img or .iso file, the program can compare its SHA256 checksum with what actually landed on the card.
Checking a downloaded image
Before writing: a checksum file next to the image is found automatically, or you can simply paste the checksum from the download page.
Several cards at once
Up to eight target disks, the same image written in parallel, with a separate progress bar for each card.
System disk protection
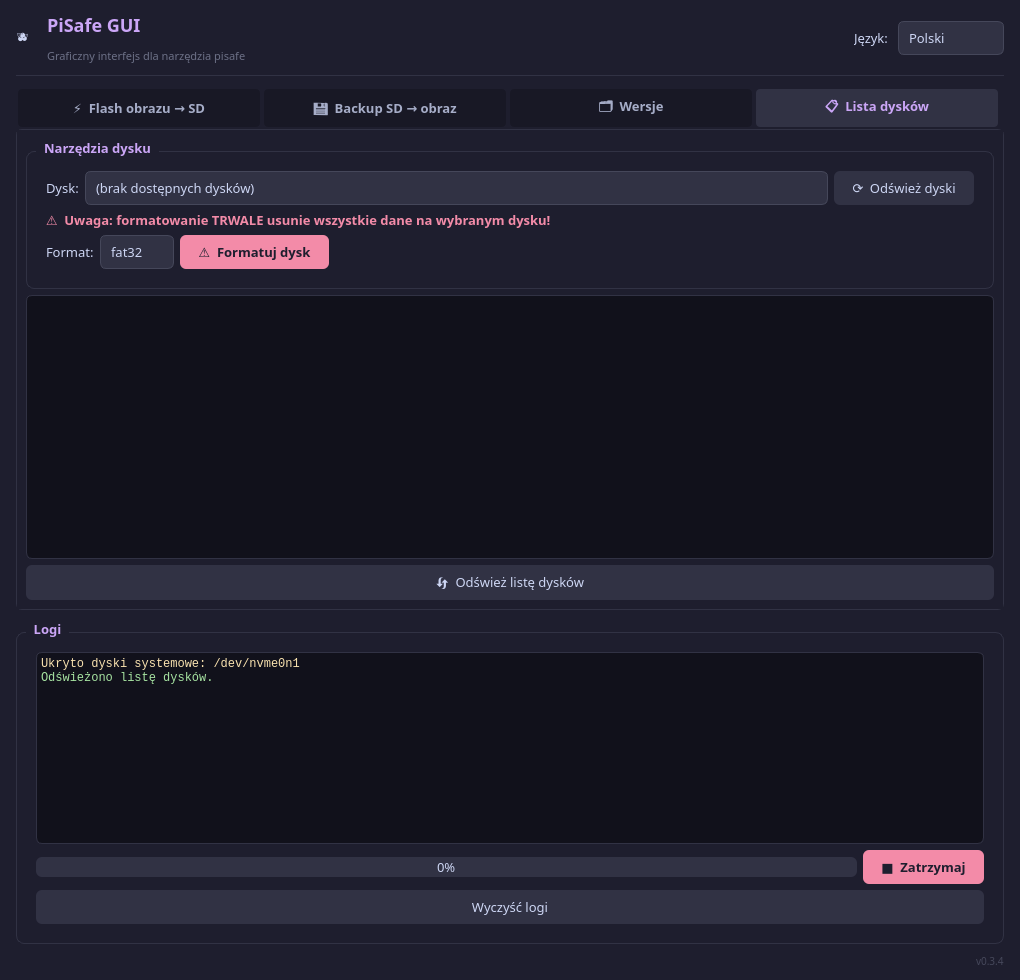
Disks with a mounted system (/, /boot, /home) are hidden, and only SD cards and USB disks can be written and formatted.
Quick formatting
A card or USB stick in FAT32, exFAT, NTFS or ext4 - with the same limit to USB and SD disks.
Password in a dialog
Disk operations need administrator rights, so the program asks for the password in an ordinary system dialog (PolicyKit).
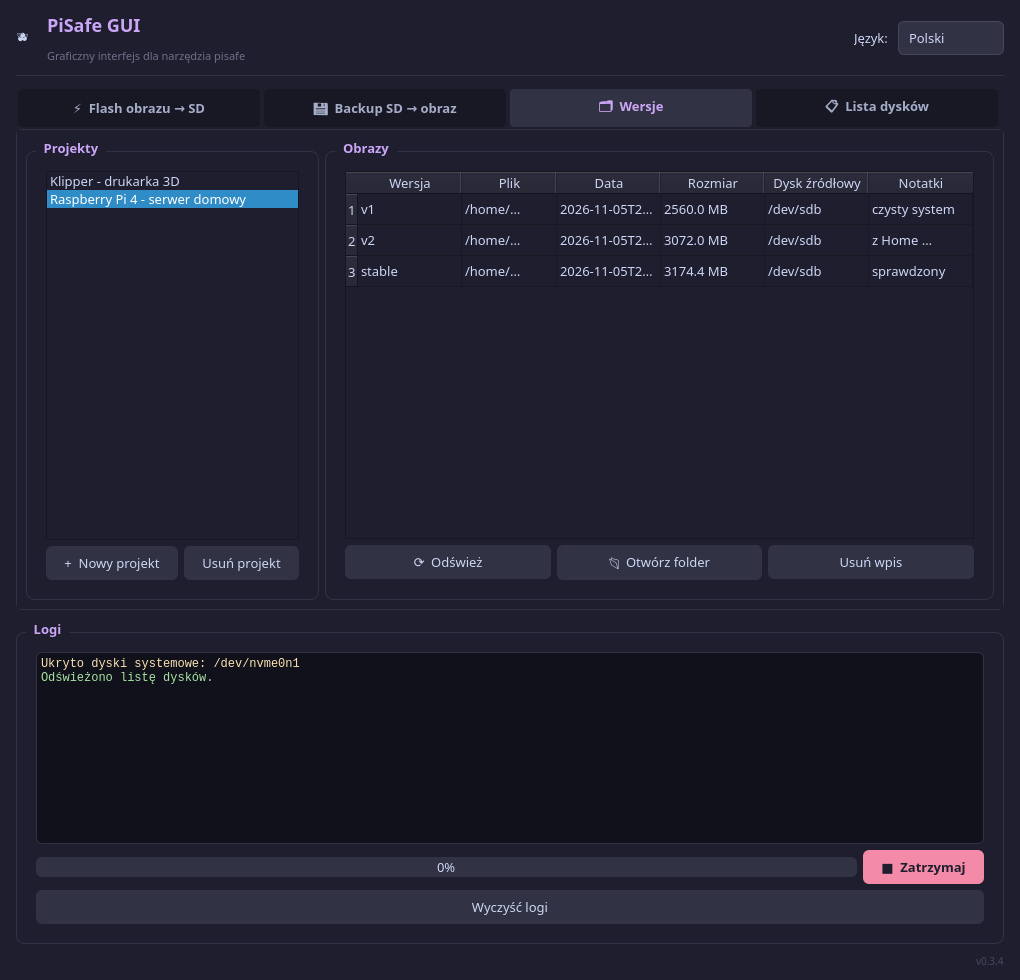
Image versions
You can always go back to a system that works
You spend an evening setting up a Raspberry Pi, and then one update breaks everything? With a backup of the card you are back to the working version in a few minutes.
- Group backups into projects - "home server" or "3D printer", for example - each with its own folder for images.
- Each backup gets a label: v1, v2, "stable" or any text, plus a note.
- The list shows the date, the size and the card the backup came from, and entries you no longer need go with one button.
Backup
A card to a file in three fields
- Choose the card, optionally a project, a folder and a file name - with the date already filled in.
- Compression to choose from:
.img,.iso,.zip,.gz,.xzor.zst. A compressed image usually takes much less space than the whole card. - The finished backup goes into the project's list of versions by itself.
Screenshots
See every tab
Click a screenshot to enlarge it. The screenshots show the Polish interface; the program starts in English.
Installation
One script and you are done
Runs on Linux and Raspberry Pi OS; it needs Python 3.7 or newer.
Install from the repository
git clone https://github.com/cyryllo/pisafe-gui.git
cd pisafe-gui
bash install.sh
The script installs PyQt5, pv, SQLite and PolicyKit, the pisafe tool itself (if you do not have it) and adds a menu entry.
Running it
From the applications menu: Accessories / Utilities → PiSafe GUI. Or from a terminal, in the program's folder:
python3 pisafe_gui.py
The interface is in English, Polish, Spanish, Portuguese, Italian and German - change the language from the list in the window's header. Translations are simple dictionaries in the translations.py file, so adding a new language needs no programming.
What next
Plans
- A
.debpackage to install it like any other program. - A checksum with every backup - to verify an image without a separate checksum file.
- A "Write this version" button on the list of versions that prepares the writing straight away.
- Tidying up old versions, for example keeping only the latest few.
Report bugs, ideas and new translations on GitHub.
No more dd in the terminal
Write a system, back up a card, go back to a version that works. PiSafe GUI is free and open source - and new translations and ideas are welcome.
Screenshots: Cyryl Sochacki, from the program, version 0.3.4 (GPL 3), with the Polish interface and example data. PiSafe GUI uses the pisafe tool by RichardMidnight (GPL 3); colour theme: Catppuccin.Other projects
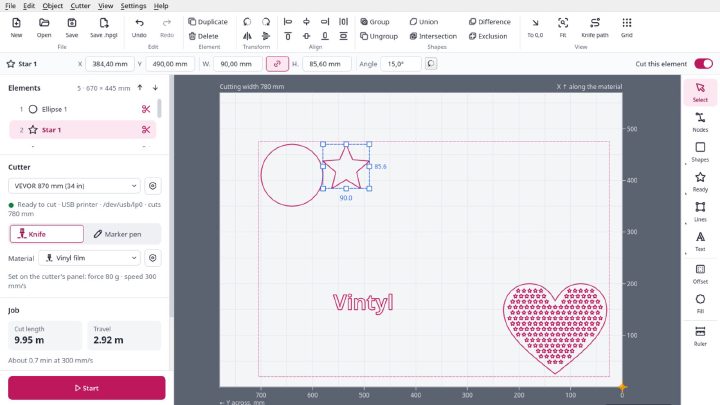

Vintyl
Free software for vinyl cutters on Linux: drawing, SVG and DXF files, laying out on the sheet and cutting straight from the window on VEVOR, Seiki and similar cutters. Knife compensation, materials, pen mode, designs in several colours. AppImage, GPL 3.
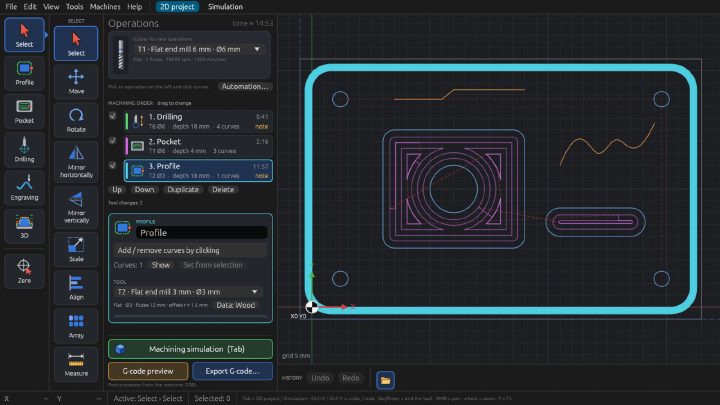

Millwise
Free CAM software for 3-axis CNC mills: toolpaths and G-code for GRBL, FluidNC and LinuxCNC from DXF drawings and STL models. 2D and 3D machining, relief from a photo, simulation on the graphics card, a tool library. For Linux, an early test version.
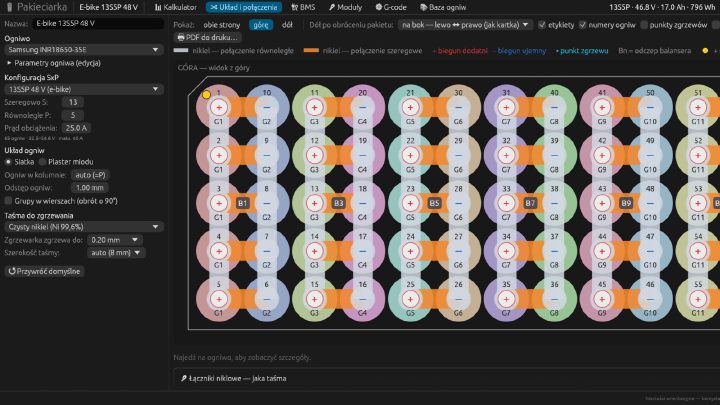

Pakieciarka
A configurator for battery packs built from 18650 and 21700 cells: a calculator, connection drawings, nickel strip and BMS selection, a heat map, a 1:1 PDF template and G-code for a CNC spot welder. Linux, macOS and the browser. Interface in Polish.